

These Better Than Cheez-It Gluten-Free Crackers will bring out your inner child! Easy to make and seriously addictive, they’re the crunchy, cheesy bites you’ve been missing on a gluten-free diet.
A Childhood Favorite, Re-imagined
Growing up, Cheez-Its were one of my all-time favorite snacks. Like many gluten-free eaters, I’ve spent years hoping Kellogg’s would release a gluten-free version—but no luck. So I took matters into my own hands and developed this Better Than Cheez-It Gluten-Free Crackers recipe. And honestly? They turned out perfectly! Crisp, cheesy, and just salty enough—they hit every nostalgic note.

What Are Cheez-Its, Anyway?
According to the Cheez-its website, these iconic crackers were first created in 1921 by the Green and Green Company in Dayton, Ohio. After World War I, Green and Green aimed to craft a snack that was more flavorful than the hard breads of the time. Their creation was initially marketed as “baked rarebit,” inspired by the British dish Welsh rarebit—toast topped with a rich cheese sauce.
While the term Cheez-It wasn’t popular at first, the snack quickly caught on. The brand passed through several owners over the years: from Sunshine Biscuits to Keebler, then Kellogg’s, and most recently, Mars Inc. Despite its evolving corporate home, the original cheesy cracker has remained a pantry staple—though sadly, never in a gluten-free form. Until now!
What Makes a Cheez-It Taste Like a Cheez-It?
Not all cheese crackers are created equal. A true Cheez-It has a distinct flavor profile that sets it apart from your average cheddar snack cracker. When developing our Better Than Cheez-It Gluten-Free Crackers, we took a deep dive into what really makes a Cheez-It taste so iconic.
1. Smoky Undertones
You might not notice it right away, but Cheez-Its have a subtle smokiness that enhances their overall depth of flavor. This comes from a touch of smoked paprika—though it’s subtle enough to be missed unless you’re looking for it. In our gluten-free version, we use regular paprika with the option to substitute smoked paprika. We also include smoked gouda, which adds a natural smoky note without overpowering the cheese flavor.
2. Umami from Yeast
A major part of that signature Cheez-It flavor is the savory, almost nutty depth—thanks to yeast-derived ingredients. The original uses autolyzed yeast extract, which delivers that characteristic umami flavor. In our recipe, we use nutritional yeast to achieve the same effect in a gluten-free and plant-friendly way. Combined with the paprika, it gives the crackers a rich, earthy backbone.
3. Bold Cheesiness
Naturally, cheese is the star of the show. Cheez-Its use real cheese powder, which gives them an intense cheddar flavor. For our gluten-free take, we blend extra-sharp cheddar with smoked gouda. This combo gives the crackers a full cheese profile—from creamy and mild to tangy and sharp—mirroring the layered cheese notes in the original.
4. That Toasty Crunch
Let’s be honest: the best Cheez-Its are the extra-toasty ones. In fact, the brand even released a “Extra Toasty” version due to popular demand! To capture that deliciously deep, browned flavor, we bake our gluten-free crackers just a minute longer than usual. This enhances both the crunch and the flavor, giving that perfect golden-brown edge that Cheez-It lovers crave.
How to Make Better Than Cheez-It Gluten-Free Crackers
These gluten-free cheese crackers are surprisingly easy to make at home. With just a few tools and simple ingredients, you’ll have a batch of crispy, cheesy bites in under an hour. Here’s everything you need to get started:
Tools You’ll Need:
- Food processor (recommended) or blender
- Rolling pin (adjustable is ideal for consistent thickness)
- Parchment paper
- Baking sheets
- Pastry cutter or knife
- Metal spatula
Step-by-Step Instructions:
1. Mix Dry Ingredients
In a food processor, combine all the ingredients except the cheese and water. Pulse until the mixture resembles coarse breadcrumbs.
2. Add Cheese
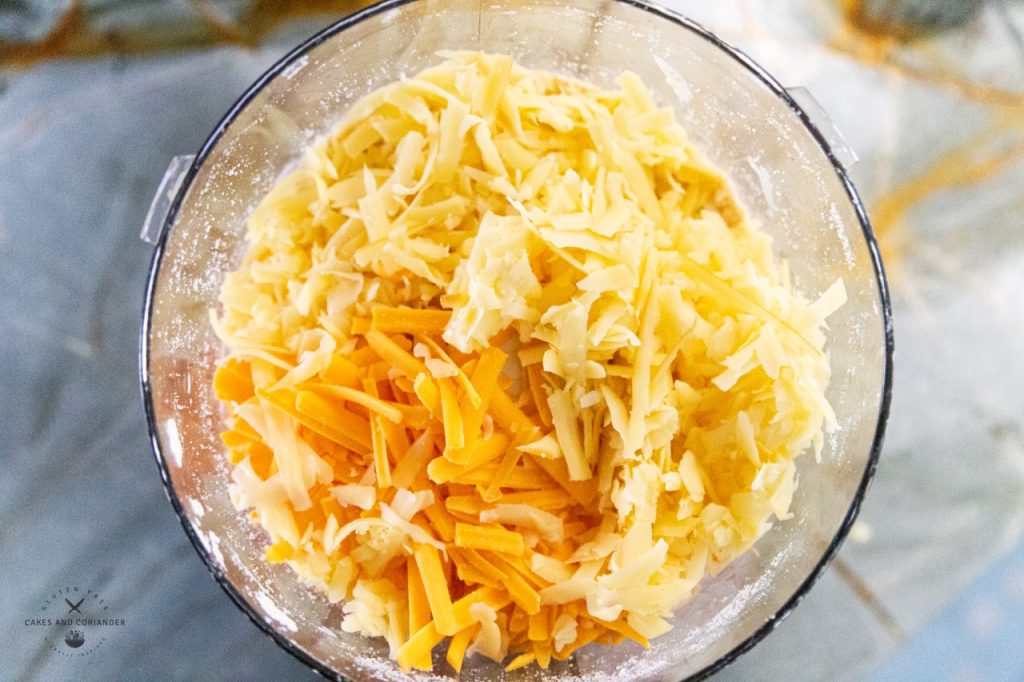
Add your shredded cheeses (we use extra sharp cheddar and smoked gouda). Pulse again until the mixture is fully combined and looks uniform.
3. Add Water and Form Dough
Slowly add the water and continue pulsing until the dough comes together. It should hold together when pinched, but not be sticky.
4. Roll Out the Dough
Place the dough between two sheets of parchment paper and roll it out to about 1/8–1/4 inch thick. Thinner dough yields crispier crackers, while thicker dough is easier to handle. I use this adjustable rolling pin for precise dough thickness.
Pro Tip: Lightly dust the parchment with gluten-free flour to prevent sticking.
5. Peel and Flip the Dough
Carefully peel off the top layer of parchment. If the dough tears, press it gently back together and try peeling from a different angle. Then flip the dough over using both sheets of parchment, and peel off the second layer.
6. Cut Into Crackers
Use a pastry cutter or knife to cut the dough into squares. Cheez-Its are typically 1×1 inch, but feel free to go bigger to save time.
7. Bake
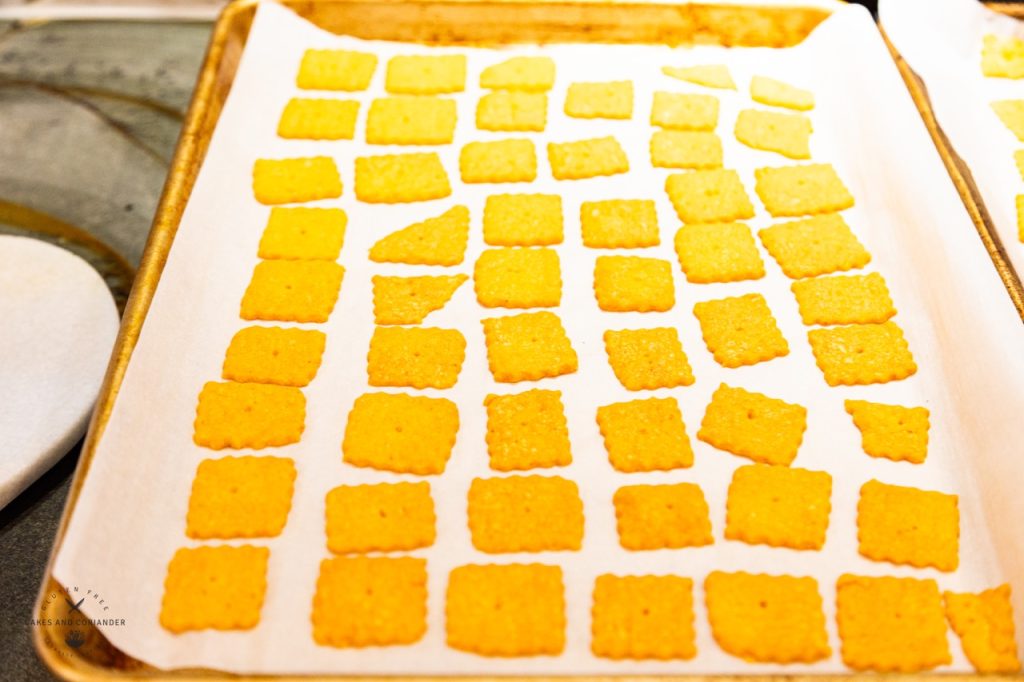
Transfer the squares to a parchment-lined baking sheet using a metal spatula. Bake at 350°F (175°C) for about 18 minutes, or until golden brown and crispy.
8. Cool and Enjoy
Let the crackers cool completely on the baking sheet—they’ll crisp up as they cool. Store in an airtight container for up to a week (if they last that long!).
Tips and Tricks for Making the Best Gluten-Free Cheese Crackers
Making homemade gluten-free Cheez-It-style crackers is easy—and with these pro tips, you’ll get the best texture and flavor every time.
1. Make a Double Batch
One batch yields about 1 pound of crackers, but let’s be honest—they go fast! Since you’ll already have your rolling pin, parchment paper, and pastry cutter out, it’s smart to double the recipe and save time later.
2. Storage Tips
These crackers keep well when sealed in a zip-top bag or airtight container for up to 2 months.
Bonus tip: If you’re in a humid climate and notice your crackers getting a bit soft, just pop them back in the oven at 250°F (120°C) for 5 minutes. They’ll crisp right back up.
3. Dough Handling Made Easy
Many recipes recommend chilling the dough—but I’ve found that with a few tweaks, it’s not necessary:
- Combine the dry ingredients before adding cheese. This improves binding, since the dough isn’t immediately coated in cheese oils.
- Use room temperature cheese. It blends better and helps the dough stay cohesive.
This approach keeps the dough pliable and easy to roll out without the need for chilling.
4. Adjust the Size for Snacking or Dipping
The classic Cheez-It size is 1×1 inch, which is perfect for snacking. But if you’re serving these crackers with dips or want to speed things up, make larger squares. Bigger crackers mean less cutting and transferring—great for saving time.
5. Flavor Variations to Try
Looking to elevate your gluten-free cheese crackers? Try these fun twists:
- Swap cheddar for gruyere for a nuttier, more refined taste.
- Add garlic powder to the dough for extra depth.
- Sprinkle in cracked black pepper, rosemary, or thyme for a gourmet finish.
6. Favorite Pastry Cutter
A good pastry cutter makes a big difference in getting those clean, even edges. My top pick? The Norpro Grip EZ Pastry/Ravioli Wheel. It’s sharp, comfortable to use, and creates the perfect cracker edge every time.

Here Are Some Other Great Recipes!

Better Than Cheez-It Gluten Free Crackers
Ingredients
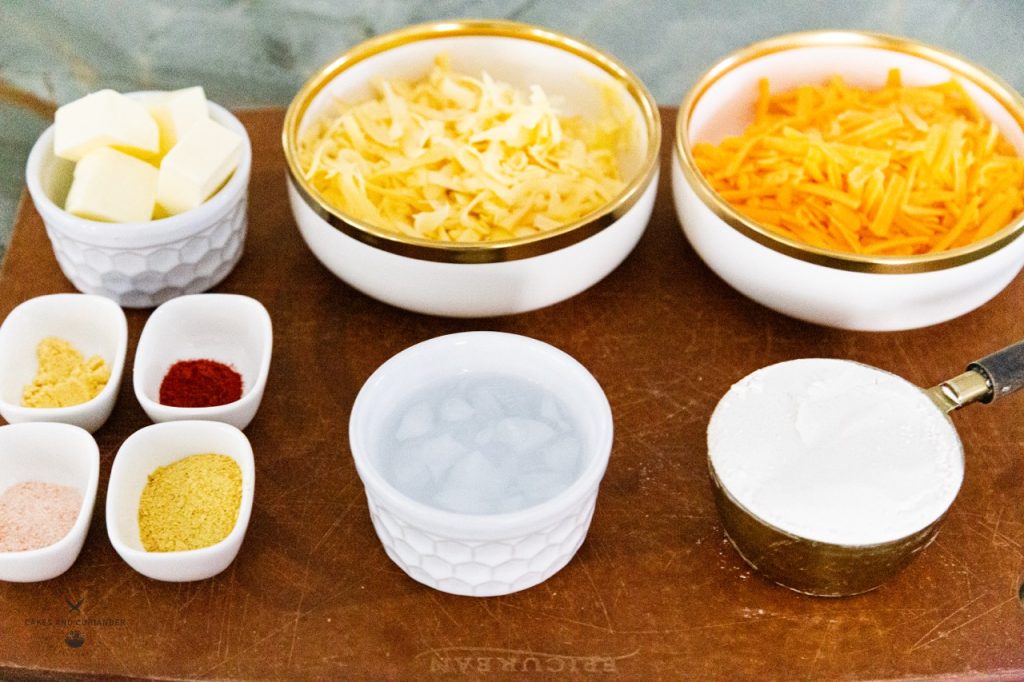
- 8 oz Extra Sharp Cheddar Cheese- Room Temperature
- 4 oz Smoked Gouda Or Smoked Cheddar Cheese- Room Temperature
- ½ Cup Salted Butter
- 1 tsp Himalayan Pink Salt
- 1 Tbsp Nutritional Yeast
- ½ tsp Dry Mustard Powder
- ½ tsp Paprika If you’re not using Smoked Cheese, try using Smoked Paprika
- 1 Cup Gluten Free Flour Blend I use King Arthur Measure for Measure
- 1.5 Tbsp Cold Water

Instructions
- Preheat your oven to 350°F and line two baking sheets with parchment paper. Set aside until you’re ready to transfer your crackers.
- Prep all your ingredients.

- Combine all ingredients, but the water and cheese into the food processor. Plus until you get what looks like bread crumbs.
- Add the cheese. And continue to blend until homogeneous. Then add the water.
- Remove the dough and roll it between layers of parchment paper to 1/4-1/8 inch thick. The thicker, the easier to work with, but thinner gets crispier. I use this exact adjustable rolling pin for precise dough thickness. Note: You can also sprinkle a little gluten free flour on the parchment to make it easier.
- Peel off the top parchment, if the dough tears, press it back down and pull the parchment from a different angle. Then firmly grab both layers of parchment and flip over, repeat pulling the parchment. This should come off easier than the top if you lightly floured the surface.
- Using a pastry cutter, cut out your crackers! Cheez-Its measure 1×1 inch, but larger crackers are less time consuming! Then use a chopstick to poke a whole or multiple holes if larger into each cracker.
- With a metal spatula, transfer the crackers to a parchment lined baking sheet and bake for approximately 18 minutes! If you would like them less done and crispy bake for approximately 16 minutes.
- Remove from the oven, cool and enjoy!


These are so good! I promise!